Saturday, April 28, 2018

Sneak Peak Saturday: Stampin' Up "Animal Outing"

Stampin' Up Together we Make a Great Pair featuring "Animal Outing"

Images©Stampin' Up!


Team's Weekly Challenge: Critters

Our team challenge was to create something with some type of critter.  I chose to use the stamp set "Animal Outing" I received at Fort Worth OnStage. This stamp set was just one of the free goodies that was inside our bags. The stamp set will be available in June in the new catalog. I really love that the images can be colored with whatever medium you choose or left blank.  The sentiment are also super cute. I decided to use the kangaroo and koala image because I think they're just super cute. 

Card measurements: 4 1/4" x 5 1/2"

Supplies:
Very Vanilla Card Stock
Soft Suede Cardstock
Lemon Lime Ink Pad
Soft  Suede Ink Pad
Neutral Stampin Write Markers
2017-2019 In-colors Stampin Write Markers
Snail Adhesive
Dimensionals

Instructions:
  1. Cut very vanilla cardstock  4 3/8" x 5.25" & 2.5" x 3.25"
  2. Cut soft suede cardstock  8.5" x 5.5", score @4.25" & 2.75" x 3.5" 
  3. Stamp branch image on large piece of very vanilla to create custom background. The branch image stamp has a frog on the branch. Use the Soft Suede stamp write marker and color just the branch.  Use the lemon lime twist marker to color the leaves. 
  4. Stamp the kangaroo image on the small piece of very vanilla and then stamp the sentiment in top left corner above the kangaroo.
  5. Using the snail adhesive to attach the very vanilla DSP to the card base and the kangaroo layer to the soft suede piece. Attach the sentiment and image layer to the card base using dimensionals. 

Pre-order your catalog.

 If you don’t have a demonstrator or haven't made a purchase in my online store, send me your information and I will send you a catalog.  The cost is $7 (this is to cover my shipping costs). These are 200+ big catalogs and idea books, and I purchase these and pay to ship them. I offer them to you for free, but I need to charge to cover the shipping costs. Join my team or become a Stampin' up demonstrator and you will get a free catalog.

Thank you for stopping by to read my blog.
Happy crafting to you!


Follow me on Facebook and Instagram


Thursday, April 26, 2018

Thursday Treasure: Stampin' Up "Baby Bear"

Stampin' Up! I Just Adore You featuring the "Incredible Like You" Stamp Set

Images©Stampin' Up!

Team's Weekly Challenge: Occasion Catalog

Our team's weekly challenge was to create a project using new product from Stampin' Up! 2019 Occasion Catalog. I choice to spotlight the "Incredible Like You" stamp set and my favorite color purple. This stamp set is a two-step stamping and comes with 15 stamps (4 sentiments and 11 images). The sentiment font is super cute and will be the star of any project. Stampin' Up! paired this stamp set with the "Incredible Like You Project Kit" but it's also perfect alone. 


Card measurements: 4 1/4" x 5 1/2"

Supplies:

Incredible Like You Stamp Set 148708
Whisper White Card Stock 100730
Gorgeous Grape Card Stock 146987
Highland Heather Card Stock 146986
Gorgeous Grape Ink Pad 147099
Highland Heather Ink Pad 147103
Pineapple Punch Ink Pad 147141
Lovely Lipstick Ink Pad 147140
Lovely Lipstick Ribbon 146952
Happiness Blooms Enamel Dots 148805
Starburst Punch 143717
2" Circle Punch 133782
Snail Adhesive 104332
Dimensionals 104430


Instructions:
1. Cut card base 8.5" x 5.5", score @ 4.25"
2. Cut whisper white card stock 4 3/8" x 5 7/16" &  3" x 3"
3. Cut highland heather card stock 3" x 3"
4. Create custom designer series paper using the Incredible Like You stamp set and the two-step stamping technique.
5. Stamp sentiment on small whisper white piece.
6. Cut sentiment layer using the circle punch and cut highland heather layer using the starburst punch. 
7. Attach custom layer to card-base using snail adhesive. Attach sentiment to layer to highland heather layer using snail adhesive.
8. Cut a piece of the lovely lipstick ribbon and attach to the bottom of the sentiment layer using snail adhesive. 
9. Add dimensional to sentiment layer and attach to card. Give your card that extra wow with pineapple punch enamel dots.
Voila your project is complete.


Spend a minimum of $30.00 in my online store and using the
 January Host Code: CKJKWS3N and get a free spool of Calypso Coral Ribbon.

Images©Stampin' Up!
Sign up for my newsletter and get 10% off of one item in my OnlineStore!


Thank you for stopping by to read my blog.
Happy crafting to you!

Follow me on Facebook and Instagram


Wednesday, April 25, 2018

Paper Pumpkin Spring Cleaning Sale


Paper Pumpkin Spring Cleaning Sale
Spring has sprung, and Paper Pumpkin has decided to do a little spring cleaning as we blow out select items in our refill and past kit inventory, starting today, April 25. During the spring cleaning you will get a 50% and 75% discount.  
Anyone may purchase the kits listed below (not just Paper Pumpkin subscribers) until May 9 or while supplies last.   Shop my online store for some of these great kits. http://www.stampinup.com/ecweb/default.aspx?dbwsdemoid=2158714

Available Kits All Images©Stampin' Up!

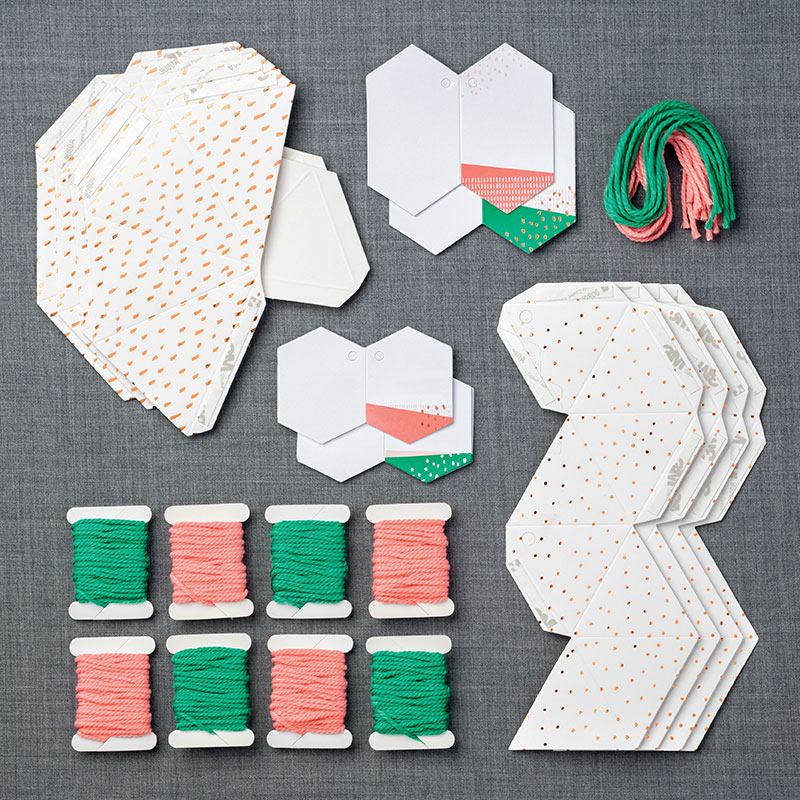
What a Gem Kit
What A Gem Kit $4.25
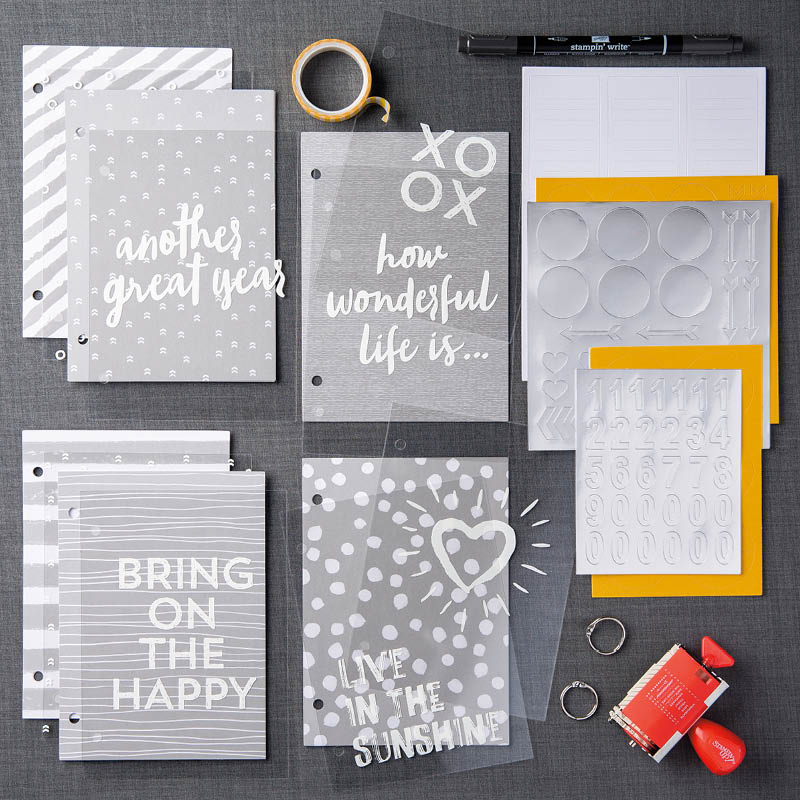
Another Great Year Kit
Another Great Year Kit $4.25
 
Available Refills All Images©Stampin' Up!
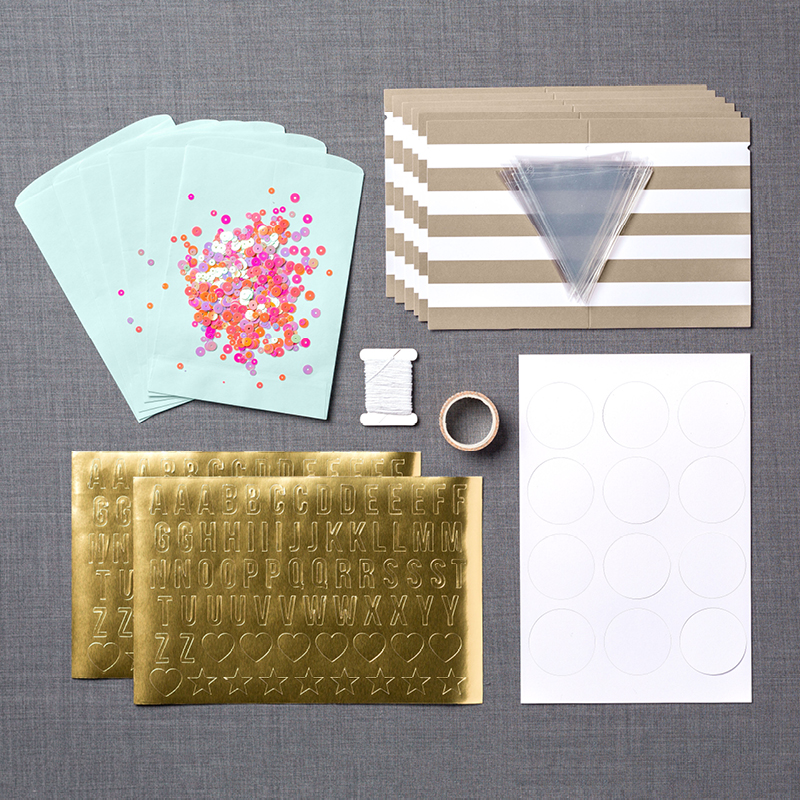
Banner Surprise Kit Refill
Banner Surprise Refill $2.00
What A Gem Kit Refill
What A Gem Refill $2.00
Get them while the supplies last, they are going fast.  
 http://www.stampinup.com/ecweb/default.aspx?dbwsdemoid=2158714 

Thursday, April 12, 2018

Thursday Treasure: Stampin' Up! OnStage Swaps!


March 2018 Paper Pumpkin Kit "May Good Things Grow" Images©Stampin' Up!


Images©Stampin' Up

March 2018 is Paper Pumpkin’s 5th anniversary, and along with celebrating five amazing years of creating and sharing together,  they also found a way to say thank you to their friends with an amazing March kit which includes a fantastic, FREE gift—a pack of beautiful wood embellishments.
Because this is such a special anniversary for Paper Pumpkin, a lot of love went into creating this kit, and they hope you’re as crazy about it as they are. Its vintage floral design with seed packet envelopes is a first for Stampin’ Up! and they have to say—the Paper Pumpkin team just about fell out of their chairs when they first saw it. It’s uniquely beautiful, collectible, and almost sure to go down in Paper Pumpkin history as an all-time customer favorite!


While I was watching the video and going through my kit I fell in love with all of the super cute materials; however, I was also inspired with some great alternative projects. Below is my first alternative using the stamp set.  

Images©Stampin' Up
Card measurements: 4 1/4" x 5 1/2"

Materials Used:
March 2018 Paper Pumpkin Kit Stamp Set
Thick Whisper White Cardstock 140272
Whisper White Cardstock 100730
Rose Red Cardstock 102544
Regal Stampin Write Markers 131262
Subtles Stampin Write Markers 131263
Snail Adhesive 104332

Instructions:
Cut thick whisper white cardstock 4 1/4" x 11", score @ 5 1/2"
Cut rose red cardstock 4 1/8" x 5 5/16"
Cut whisper white cardstock 4" x 51/4"

Using the wild wasabi stampin write markers to ink up leaf image. Once finished stamp image according to your design pattern. Next use rose red stampin write marker to ink up floral image stamp. Let your creativity flow and stamp floral image according to your taste.  *When creating your own background there is no wrong or right way*. The best way is to let your creativity spirit be your inspiration. 

Once all the stamping is complete use the snail adhesive and attach your background layer to the rose red cardstock. Next attached everything to your card base. Next using the rose red ink stamp your sentiment on the top layer. Voila your super quick and easy alternative  is complete.  You can create a matching envelope for that little something extra. Now this project is ready for that someone special.

Just think it only took about an hour to create this super cute alternative. If you feel this something you would like to do, check out the subscribe now link below. I guarantee you will love being a paper pumpkin subscriber.


Thank you for stopping by to read my blog.
Happy crafting to you!

Follow me on Facebook and Instagram

Thursday, April 5, 2018

Stampin' Up Local OnStage Swaps featuring "Truly Tailored"

header_OnStage2016_demo_ENG

What is OnStage?

Love it. Live it. Share it

Each year Stampin' Up holds this awesome stamping party.  At OnStage, you’ll have the time of your life crafting with fellow demonstrators, connecting with the home office, and seeing brand new products before anyone else. Last year I attended the Onstage Local in Shreveport and it was a blast. I met lots of new demonstrators and had the opportunity to learn new techniques. Throughout the convention there are several prize patrols and you get lots of free goodies; and who doesn't like free stuff! This year the Onstage Local will be held in Fort Worth, Texas.  

All demonstrators are encouraged to participate in the swap activities. What is a swap? Handmade and heartfelt creations that you make and exchange with other demonstrators. The swaps are basically samples  that you can use as creative inspiration.  Just another great perk of being a part of the Stampin' Up family.

This year I decided to feature products from the True Gentleman Suite. This suite can be found in the Occasions catalog. I really loved using this suite to make these cute masculine  cards. 


True Gentleman
Images©Stampin' Up
As you can see I created  four designs using the True Gentleman Designer Series Paper and cardstock pack. This is a very easy card to make.  I  really missed putting some type of embellishment but most guys don't like all that bling.


Images©Stampin' Up
Card measurements: 4 1/4" x 5 1/2"

Materials Used:
True Gentleman Cardstock Pack 145595
True Gentleman Designer Series Paper 145593
Truly Tailored Stamp Set 145735
Very Vanilla Cardstock 101650
Crumb Cake Ink Pad 126975
Night of Navy Ink Pad 126970
Tranquil Tide Ink Pad 144085
Crushed Curry Ink Pad 131173
Everyday Label Punch 144668
Snail Adhesive 104332
Dimensionals 104430

Instructions:
Card base: 4 1/4" x 5 1/2"
Designer Series Paper: 4" x 5 1/4"

  1. Cut colored cardstock to create your card base. 
  2. Cut the DSP of your choice.
  3. Create the sentiment label using the everyday label punch. Punch an even amount of labels using the colored cardstock and very vanilla cardstock. 
  4.  Create the sentiment label using the picture as your guide. 
  5.  Attach designer series paper (dsp) to card base using the snail adhesive. 
  6. Attach the sentiment label using dimensionals.
Quick and simple card! Just think of all the special guys in your life that would love receiving this card.

You can still purchase the True Gentleman Suite from the Ocassions Catalog until May 31, 2018. Spend a minimum of $35.00 in my online store and using the HOST CODE: KWQY6NQN  to receive one of the free items listed below. Just a special thank you gift from me!

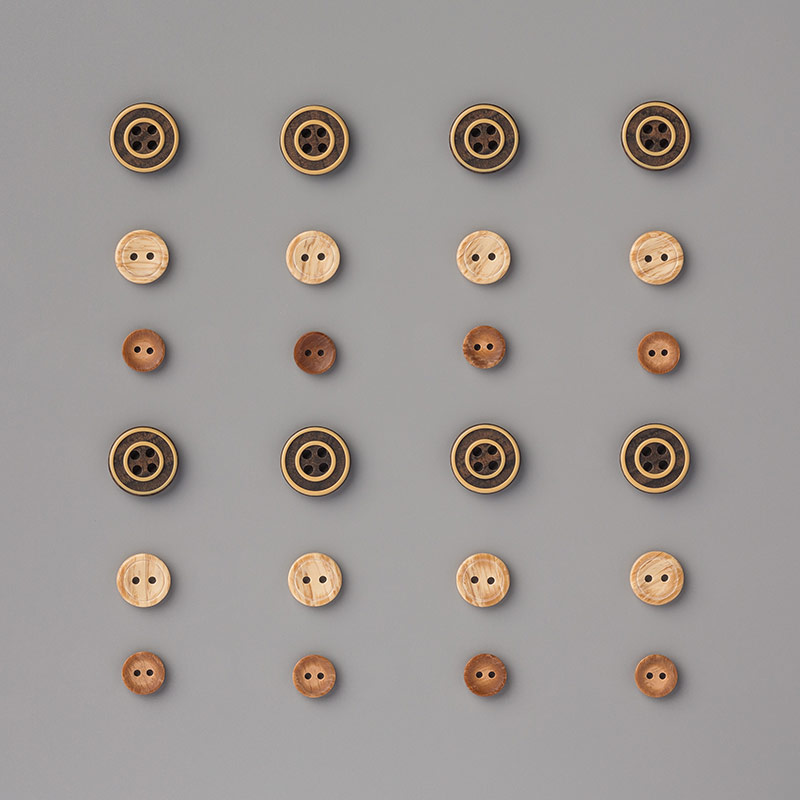
True Gentleman Buttons
Night of Navy Corduroy Ribbon


Don't miss next Thursday's Treasure "OnStage Swaps"!


Thank you for stopping by to read my blog.
Happy crafting to you!
Follow me on Facebook and Instagram

ICS Blog Hop Fall Fun

  Hello and welcome to September ICS Blog Hop! This month's theme is "Fall Fun".  Stampin' Up has lots of great products t...